
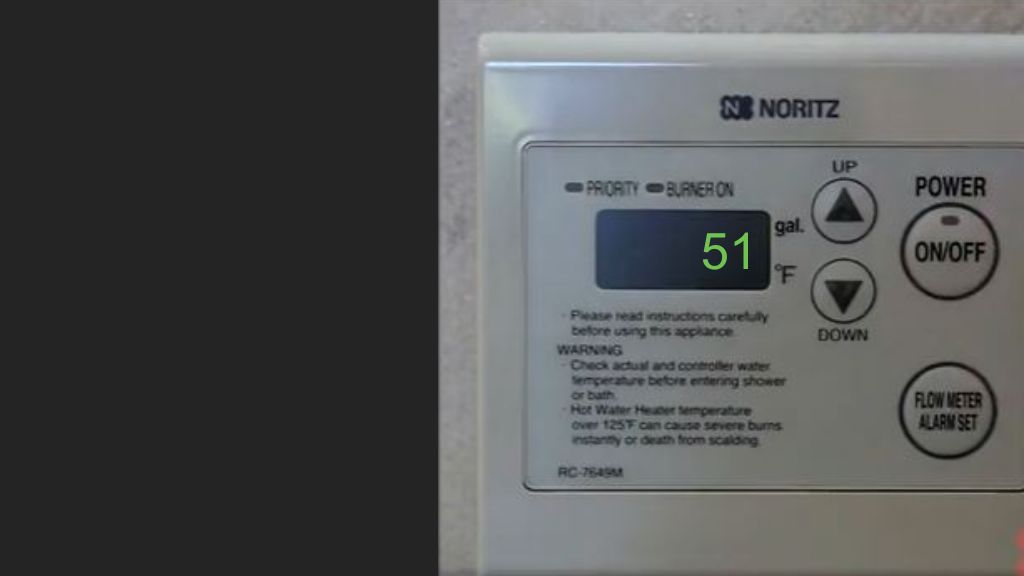
The Noritz tankless water heater code 51 indicates gas solenoid valve failure. More often than not, you’d have to replace the gas solenoid valve to solve the issue.
But sometimes, the error code can also come up due to a faulty control board. When the board gets damaged, it can show all types of error codes and code 51 is no exception.
You’ll learn how to replace the gas manifold solenoid in this guide and clear the error code to get your heater to work normally once again. So, let’s dive in!
Note: Read our ultimate guide on Noritz tankless water heater problems & error codes.
Table of Contents
- Noritz Tankless Water Heater Code 51 [Why + How To Fix ]
- Step 01 – Prepare The Manifold For Removal
- Step 02- Remove The Manifold Plate
- Step 03- Replace The Manifold Plate
- How To Check Manifold Gas Pressure On Noritz
- How To Adjust Manifold Gas Pressure
- What To Do If Replacing The Gas Solenoid Valve Doesn’t Solve The Error Code 51
- FAQs:
- What is a gas solenoid manifold pressure?
- What does the Noritz tankless gas unit demand for minimum gas pressure?
- Why won’t the Red Burner LED light stay lit on my water heater?
- End- Note
Noritz Tankless Water Heater Code 51 [Why + How To Fix ]
Gas manifold solenoid failure is the number one reason for flashing the error code 51 on Noritz’s remote display. The main points of concern that cause it to fail are:
- The valve connections are not secure.
- The valve connections are damaged.
To troubleshoot the issues properly, first of all, start by inspecting the gas valve or gas supply and ensure the unit is receiving the proper gas and the right voltage.
Secondly, if the things appear to be working correctly, verify whether the water dripped into the manifold. If you find any water inside the manifold, you will need to replace it for sure.
Even if there aren’t water leaks into the manifold, you’d most likely have to replace it. Check the coil resistance first if you have a multimeter. Here are the resistance readings you should get if you have a normal gas manifold solenoid:
- SV0 : 20~35 Ohms
- SV1 : 35~65 Ohms
- SV2 : 35~65 Ohms
- SV3 : 35~65 Ohms
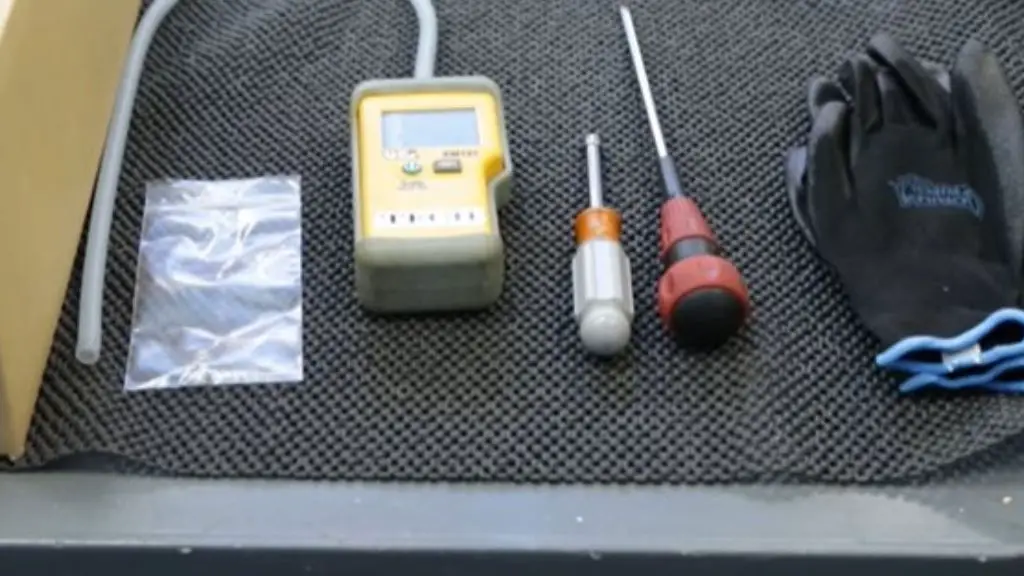
If the issue is only with the SVO, the gas valve needs to be replaced. But if the issue is with either SV1, SV2, or SV3, the manifold plate will have to be replaced. You’ll need the following tools to replace it:
Step 01 – Prepare The Manifold For Removal
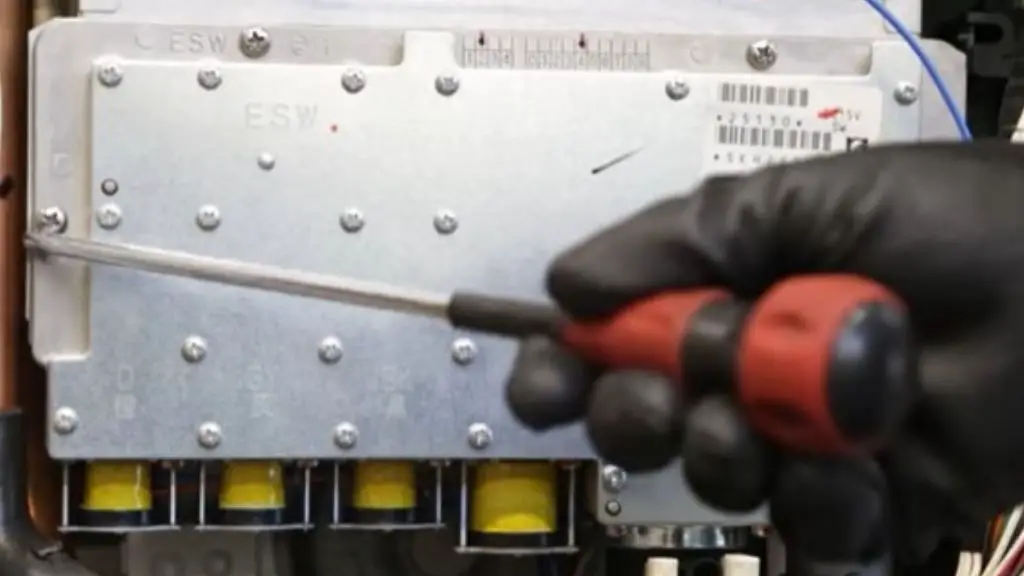
- Use the Phillip Head screw and carefully unscrew the 4-head screws of the front cover and remove it. Turn off the gas valve for safety precautions. Unplug the cord to ensure the power supply is completely OFF.
- Locate and remove the seat clamp of your unit before removing the manifold plate. Slide the gas pipe up at your unit to disconnect it from the gas inlet fitting.
Step 02- Remove The Manifold Plate
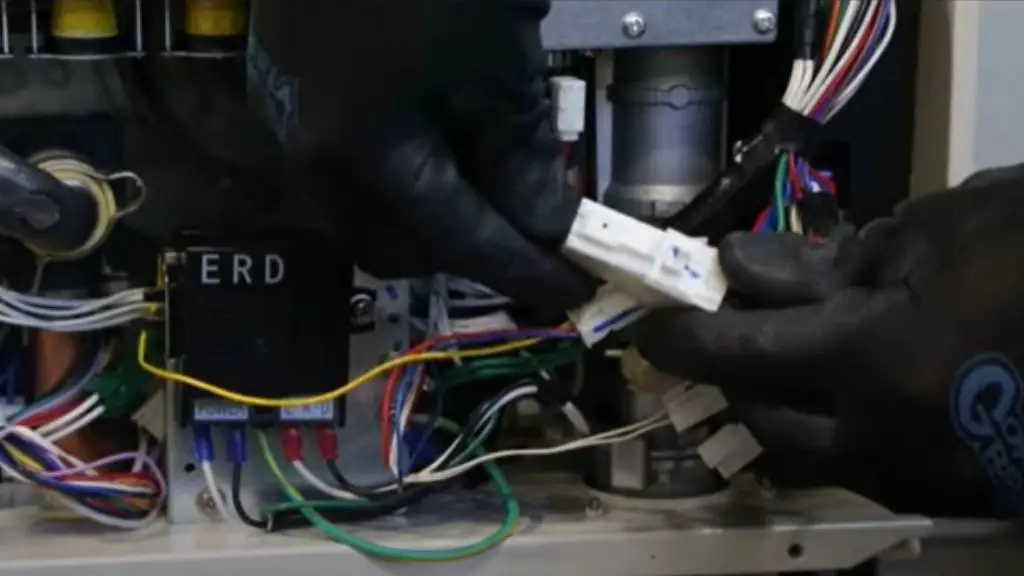
- Follow the wires coming out from the manifold to the connector wire harness. Disconnect the wire harness by pressing the middle tab and pulling them apart.
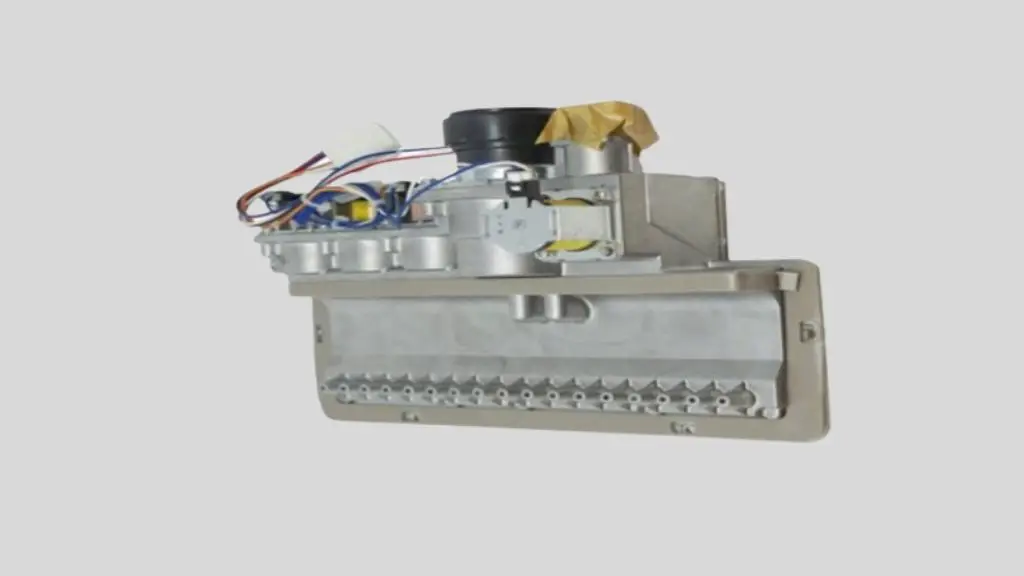
- Now, unscrew the 4 main screws and remove the manifold plate from your heater. Steer clear of using any power tools here as it can damage the threads. Remove the manifold and separate the gas pipe from it.
- Remove all the packing materials and seals connected to the new manifold. Insert the gas pipe into the new manifold. Make sure the gasket of the new manifold plate has no leaks.
- If there are leaks, don’t go ahead with the replacement. It can lead to gas leaks. Get an undamaged replacement part and continue the process again.
Step 03- Replace The Manifold Plate
- Install the new manifold into the heater by inserting the attached gas pipe into the inlet fitting and pushing it down until it’s completely in. The washer should be resting at the top of the inlet fitting.
- Reconnect the seat clamp and double-check that you can easily rotate it. Connect the wires of the manifold to the wiring harness. Attach the four screws to secure the new manifold plate in its position.
So, that’s how you can replace the manifold plate. But wait, there’s more. You need to make sure the gas manifold is set at the right pressure so that there are no further issues down the line.
And you’ll also have to use the manometer to test the gas pressure. Keep on reading to learn how you can do it.
How To Check Manifold Gas Pressure On Noritz
You can test the gas manifold pressure by taking a manifold pressure chart and a digital manometer. Let’s complete the next steps to check the manifold gas pressure.
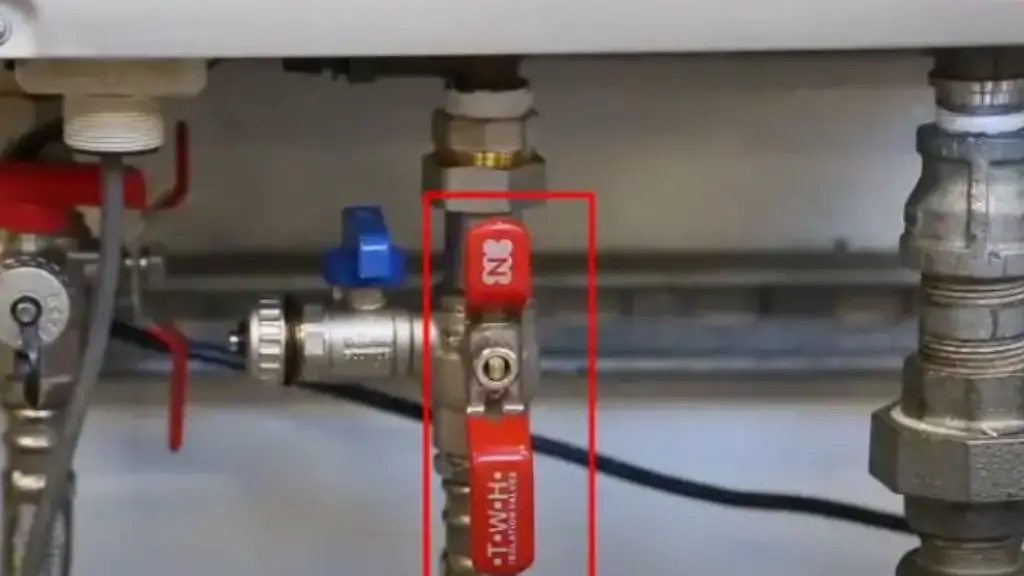
- Turn On the gas valve fully and inspect the unit for any gas leaks.
- Close the inlet water supply valve
- Reconnect the power to the unit
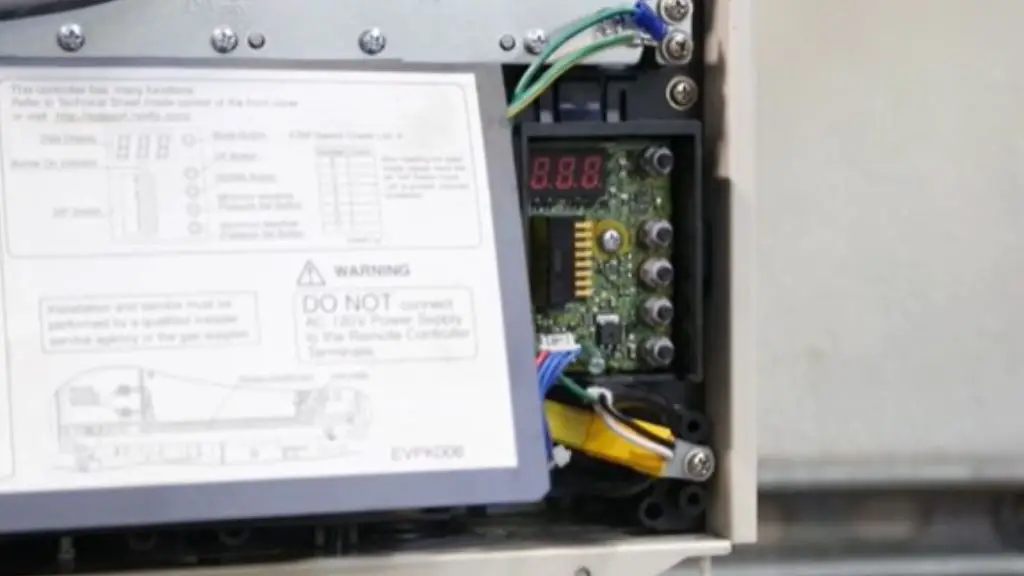
- Next, press the power button on the control board. You will see the set temp there.
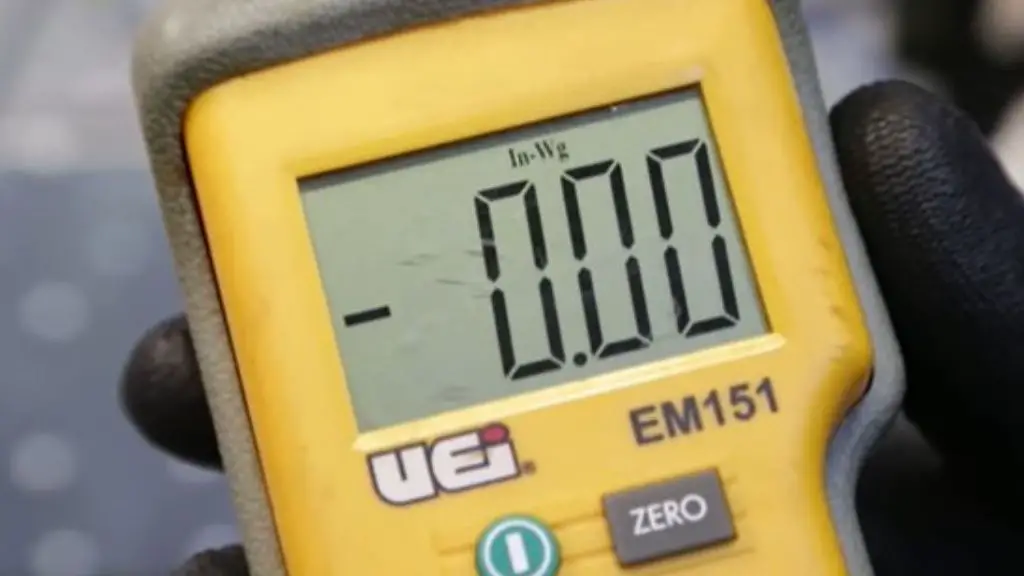
Now, turn on the manometer and wait until it shows 0.00. Then, press the power button on the meter. Set the unit to In-Wg. Here’s a picture to show what it should look like:
Place the manometer port at the manifold testing point. Then, turn on the water inlet valve and open the hot water faucets over 3GPM to adjust the manifold.
Note: The burner red light should be on if your unit produces enough hot water.
To ensure the pressure is well fluctuating, detach the manometer port from the testing point and press the “zero” button in the meter. You can see the meter will show 000 resistance.
After that, reattach the digital meter’s port to the point, it will display continuous resistance which indicates the pressure is fluctuating well.
How To Adjust Manifold Gas Pressure
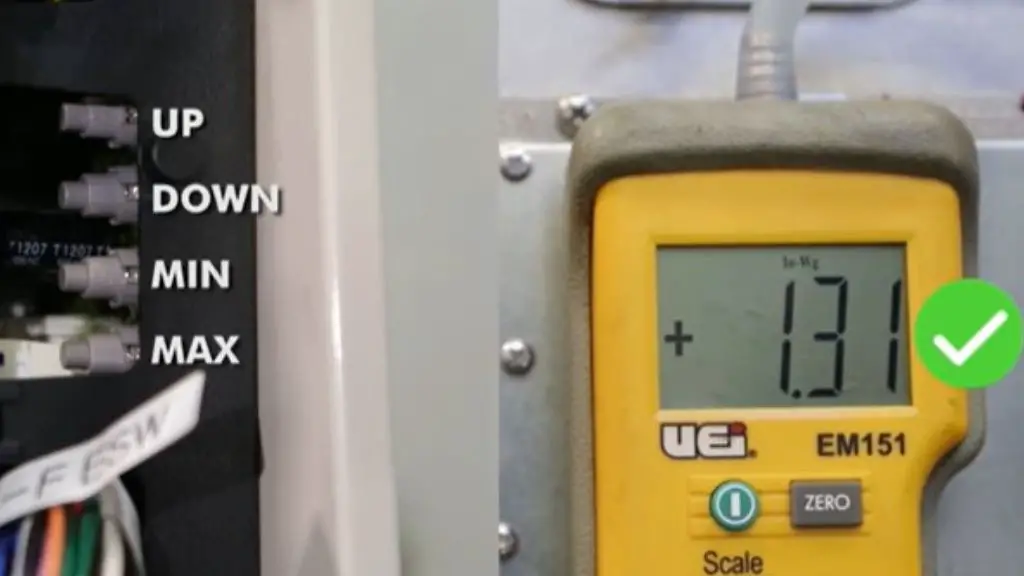
You can easily adjust the manifold gas pressure by holding down the adjusting buttons. Here, you will see the Up, Down, Min, and Max Buttons.
- Shut off the gas and water inlet valve and disconnect the tube from the manifold testing point.
- Go to the circuit board and locate the manifold pressure adjusting buttons.
- Hold the Up and the Min button until it shows S-P ( Special unit).
- Follow the pressure chart and Press and hold the Max and Min button to adjust their respective pressure.
Once completed, place the front cover panel on the top of the unit and reattach the 4 screws tight enough. Finally, head to the water inlet and gas valve to the On position.
Hope you won’t see the error code and will get enough hot water.
We highly recommend you replace the manifold plate or the control board if necessary.
If you face any problems, watch the below video on how to replace and adjust the manifold gas pressure.
What To Do If Replacing The Gas Solenoid Valve Doesn’t Solve The Error Code 51
As you’d know, a faulty circuit board can throw error codes even when everything is fine with your water heater. So if error code 51 remains even after replacing the gas solenoid valve, there’s a strong possibility that you have a bad circuit board.
If you have a faulty circuit board, you can’t repair it. Your only option is to replace it. It’s an expensive component and it’ll cost a fortune but you have no other choice and you have to replace it to get your heater to work again.
FAQs:
What is a gas solenoid manifold pressure?
A gas solenoid manifold is a device that controls the flow of gas. The amount of gas that the gas valve delivers to the burner is called manifold gas pressure.
What does the Noritz tankless gas unit demand for minimum gas pressure?
Basically, Noritz tankless gas-fired unit pressure depends on model and installation requirements. It usually requires a minimum pressure of 5″ WC for natural gas pressure and 8″ WC for propane gas pressure.
Why won’t the Red Burner LED light stay lit on my water heater?
The Red LED light won’t stay lit if your unit if the burner in your heater keeps going out or there are error codes. You’ll have to fix the underlying issue so that it can stay lit.
End- Note
Now, you know what the Noritz tankless water heater code 51 means, why it comes up, and what you can do to fix it. Most of the time, the gas manifold plate will be at fault and you’ll end up replacing it.
You can do it yourself. But if you don’t comfortable, you can always seek help from a qualified technician. However, the circuit board can also be faulty at times and you may have to replace it. Comment below if you have any questions about this error code.