
99% of the time, a Traeger Er2 code means the RTD probe or the temperature sensor has failed. The RTD probe (Resistance Temperature Detector) is crucial to Traeger grills. It’s used to measure and regulate the internal temperature of the grill.

So, when it no longer does its job properly, the Er2 code comes up. When this occurs, the obvious thing to do is replace the RTD probe. Note that sometimes the code will stick even when you change the probe.
Don’t worry, I’ll guide you step by step on how to replace the RTD probe and what to do next if replacing it doesn’t work. Let’s dive in!
Traeger Er2 Code [Fully Fixed]
So, here are some of the major causes of the Traeger Er2 error code and how you can fix it.
1. Faulty RTD Probe
The RTD probe helps monitor the grill’s temperature by measuring the heat inside the cooking chamber. It relays this temperature data to the Traeger grill’s control board.
The control board uses this information to adjust both the pellet feeder and fan speed to reach and maintain the desired temperature. When all of that is properly done, it ensures even cooking.
How Does It Work?
The RTD probe is typically a metal rod located inside the cooking chamber, usually on the left side of the barrel. It works by measuring electrical resistance that changes with temperature.

When the temperature inside the grill increases, the resistance in the probe also increases, and vice versa. The control board interprets this resistance as a specific temperature and adjusts the grill accordingly.
Why Is The RTD Probe Essential?
The RTD probe is crucial for maintaining accurate cooking temperatures.
It ensures the grill stays at the temperature you set, whether you’re smoking at a low 225°F or searing at high heat.
If the RTD probe is faulty or not working correctly, the grill may:
- Overheat or underheat because it can’t read the correct temperature.
- Display error codes (like the Er2 error).
- Shut down unexpectedly for safety reasons.
Now, you know all you need about the RTD probe. And what happens when something goes wrong with it? You won’t be able to operate your Traeger grill with a faulty RTD probe.
Solution:
When the RTD probe goes bad, your only option is to replace it. Here are the steps you can follow to replace it properly:
Step 1—Unplug and Remove the Old RTD Probe
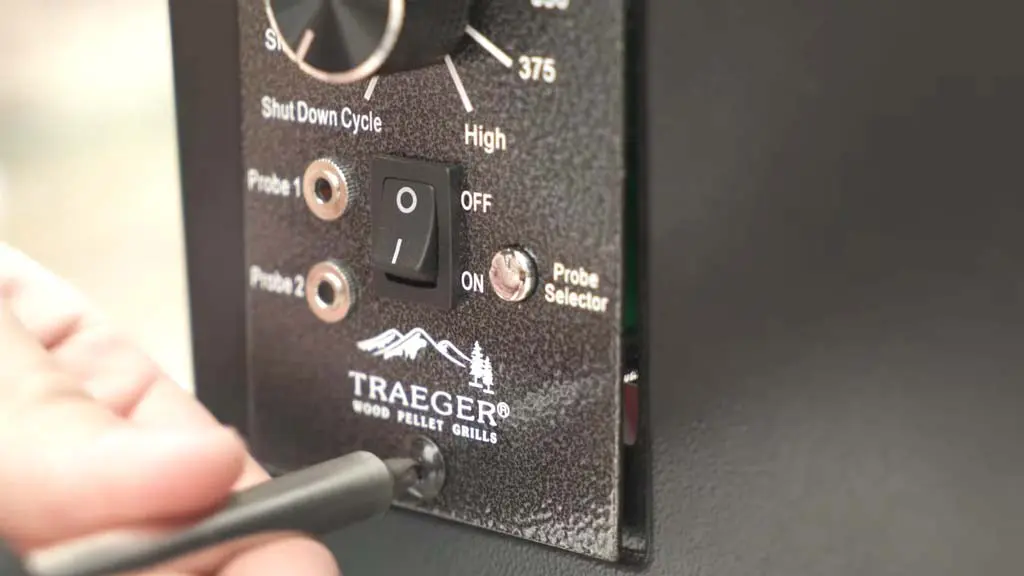
Safety first! Avoid electrical accidents by unplugging the grill from the power source. Using a Phillips head screwdriver, remove the two screws that hold the controller to the hopper.
After you do that, pull the controller away from the hopper to expose the panel on the back. You should see a green box located in the top corner of the control panel. That is where the RTD probe connects.

Loosen the two screws that are holding the RTD wires using a 2.4 mm or 3 mm flathead screwdriver. Once you undo the screws, the wires should be easy to pull.
Open the grill and locate the RTD temperature probe on the left side of the barrel. Then, unscrew the bolt that secures the probe to the grill with the Philips head screwdriver. Take the old RTD probe out by following the wires completely until it’s fully out.
Step 2 – Install The New RTD Probe
Pull the new RTD probe wires through from the same hole as the old one.
Feed the wires back down toward the controller. The two wires from the new RTD probe go in that green box on the back of the controller.

Secure the wires by tightening the screws with a flathead screwdriver. Make sure that the wires are firmly connected. To prevent damage, ensure that no wires rest on any fans inside the pellet hopper.
Step 3—Reassemble and Test
Reinsert the controller back onto the hopper. Then reattach it with the two Phillips head screws you took out earlier. Switch the grill back on after plugging it in.
Check for a digital readout on the controller to ensure the new RTD probe is working properly. If the temperature is displayed correctly, the installation was successful. Now you’re prepared to grill again!
2. Bad Wiring Connections
Replacing the RTD probe doesn’t always lead to the Traeger Er2 code fix. Sometimes, more things can go wrong with it even though it’s not very usual. Wiring issues are a common reason behind it.

To be precise, it’s possible that the RTD probe wasn’t properly connected to the wires when you replaced it. So, it’s worth checking the RTD probe wiring connections again to see if there’s anything wrong with it.
Solution:
If you spot a loose connection in the Traeger grill RTD probe wiring connections, you need to tighten it. That’s all it takes to fix the Traeger grill Er2 code when you diagnose the problem correctly.
FYI: Loose wiring connections between the RTD probe and the is also a common reason behind the Traeger Err code. If you’re facing this error code, my guide has detailed solutions for it.
3. Dirty RTD Probe
The RTD probe won’t be able to detect the temperature inside the cooking chamber correctly if it’s dirty. Even though it happens once in a million, it’s possible that sometimes, the RTD probe gets too dirty to work properly.
And in extreme cases, it can pull up the ER2 error code. It shouldn’t take long, as it’s an easy thing to check. It’s located on the left side of the cooking chamber, and you should be able to spot it without any trouble.
Solution:
If the RTD probe turns out to be dirty, you need to clean it. When it’s dirty, it’ll usually be in the form of debris, food residue, or grease. You can just follow these steps to clean it and get the Traeger Er2 code to go away:
- Turn off the grill and unplug the RTD probe.
- Dampen a soft cloth or sponge with warm, soapy water.
- Gently wipe the probe with that cloth to remove any grease or residue.
- Do not use abrasive cleaners or metal scrubbing pads, as these can damage the probe.
- After you’re done cleaning it, use a dry cloth to wipe off any moisture.
- Make sure the probe is completely dry before turning the grill back on to avoid electrical issues.
After a thorough clean-up, you should be all set and ready to cook with your grill again and no longer worry about Traeger codes.
4. Harsh Cold Weather
Another possible reason behind the Er2 code in a Traeger grill is extremely cold weather. Now, why does that happen? That’s because low temperatures don’t let the RTD probe read temperatures correctly.

Solution:
If you can, move the grill to a more sheltered spot, such as a garage (with proper ventilation) or a covered patio. Keep it in a well-ventilated place to prevent fire hazards.
Another strategy you can follow is to pre-warm the grill. With the lid open, turn on the grill so that it preheats slowly. This allows the RTD probe to adjust to the temperature gradually.
Begin with a low-temperature setting—smoke or 180°F is good for gently warming up the internal parts (including the RTD probe). Once the grill gets to that point, ramp up to your target cooking temperature.
You can also invest in a thermal blanket or insulation cover. Traeger also sells insulation blankets that wrap around the exterior. They trap heat near the grilling surface. In addition, they also protect the grill from freezing winds that can throw off temperature readings.
If you don’t want a thermal blanket, you could consider a high heat-resistant grill cover or heat-resistant insulation wrap instead. Avoid regular blankets or plastic covers, as they are not made to deal with high temperatures.
Sometimes, condensation can form on the RTD probe in cold weather. It can also result in inaccurate readings. Close the grill, then wipe the RTD probe down with a clean, dry cloth. Give it plenty of time to dry before firing the grill back up.
After keeping the heater off for a while, you can reset it. Hopefully, that’ll solve the issue. When you cook during the winter, remember that it’s hard to maintain consistent temperatures. So, you need to monitor the cooking time closely and increase the temperature slightly to adjust for heat loss.
5. Malfunctioning Control Board
If you’ve tried everything else, the only possible explanation left is that the control board is bad. But before you go around poking at the control board, make sure that you’ve ruled out the following things:
- A broken (faulty) RTD probe (temperature sensor)
- Loose or damaged wiring
- Sensor affected by cold weather conditions
Double-check the following things:
- Check the RTD probe: Make sure it is clean, connected correctly, and not damaged.
- Check the wiring: Check for any frayed or loose wires between the RTD probe and control board.
- Reset the grill: Disconnect the grill for 5 minutes and turn it back on to see if the error clears.
Then, check the firmware of the grill. Find and download any grill firmware on the Traeger website. There is very little chance that the Er2 code is up due to a pending update. If an update is available, follow the instructions on the Traeger site to install the new firmware.
If that also checks out and there is no update, you have to power-cycle the grill. Power down the grill and disconnect it from the electrical socket. Wait 5-10 minutes to allow the control board to fully discharge. Then, plug the grill back in and turn it on.
If the Er2 code still persists even after going through all of that, it does point to a faulty control board. At this stage of troubleshooting, I honestly can’t think of anything else that would be the reason behind it.

Solution:
You have to replace the control board to make the Er2 code go away. Replacing the control board (controller) on your Traeger grill can be done in three simple steps. Here’s everything you have to do:
Step 1—Unpair the Old Controller
First things first, unplug the grill from the power outlet to avoid any accidents. Then, look under the hopper of your grill. Find the four Molex connectors (little plastic plugs connecting wires to the control board). Gently pull each Molex connector apart to separate them.
Move to the front of the hopper where the controller is mounted. Unscrew the two screws that attach the controller to the hopper with a Phillips head screwdriver. Wiggle the controller gently away from the hopper.
Remove the two white braided wires that are connected to the RTD probe (temperature sensor). It’s a great idea to take a picture of the wiring before removing it, as you’ll have to reconnect the wires to the new controller later on.
Step 2—Install the New Controller
Take the new control board and make sure it is compatible with your grill model. Make sure all connectors are included in the new controller just like the old one.
Attach the wires the same way you unplugged them. Begin with the white braided wires for the RTD probe. Then, reattach the four Molex connectors located under the hopper.
Check that every one of the connectors is tightly plugged in. Make sure no wires are touching the two fans inside the hopper. Doing this avoids tangling or damaging the fans.
Step 3—Secure and Test the New Controller
Place the new controller back into the hopper. Reinstall it with the two Phillips head screws you just removed. Ensure that the controller is secure in the correct position.
Reconnect the grill and power it on. Check for a digital readout on the controller. If the controller fails to power on or displays error codes, recheck wiring connections for proper seating.

But if the display works and the grill responds to temperature changes, the new controller is properly installed. That’s how easy it is to replace the control board on your own. You’re all set to fire up the grill again!
FAQs:
What should I do if the Traeger ER2 code stays even after all the steps?
Contact Traeger customer support at 1-800-872-3437 and explain the situation in detail. Hopefully, they’ll understand the situation and send help or guide you properly from there.
How can I tell if the control board is causing the ER2 error?
There is no sure-fire way to say that. But dollars to donuts, if the ER2 error persists after replacing the RTD probe and checking wiring, the control board is likely faulty.
How do I reset the control board on my Traeger grill?
Disconnect the grill for 5–10 minutes, reconnect it, then immediately turn it on to reset the control board.
How do I update the firmware on my Traeger grill?
Head to Traeger’s website, download new firmware for your grill model, and follow the instructions for installation.
Conclusion
The Traeger ER2 code is certainly annoying, but with a little patience and troubleshooting on your part, it’s fixable.
By now, you’d know that the issue could be due to a bad RTD probe, wiring errors, cold weather, or a damaged control board. But taking the time to check every component will nudge you in the right direction.
If nothing else works, call Traeger customer service at 1-800-872-3437. If you want a more in-depth guide on how to fix Traeger grill codes, you can check out my detailed guide on it. Happy grilling!