If you are using an electric smoker for a year at least, then at the end of the year, you must face an issue. Most of the time, you will face an issue with the smoker not getting hot enough.
And then you should for your electric smoker heating element replacement.

In 6 out of 10 cases, the electric smoker heating element gets corroded (the place where wire connections join to the heating element).
And in a few cases, the heating element gets worn out and then you need to have a new one to replace it. But many of us can’t detect the actual issues.
Do you know why?
Because most novice users fail to understand the troubleshooting and maintenance hacks of it. Turns out, they had no choice left without replacing the heating element.
The reason is obvious here. That is with the faulty connection between the heating element and the power supply.
But what happens when you won’t need to call up a technician and save some bucks?
Well, when you are using a Masterbuilt smoker for the first time, then guesswork will be futile. Stay with our article and try to understand how to replace the heating element of your Masterbuilt electric smoker. Hopefully, you will find new hope.
Masterbuilt Electric Smoker Heating Element Replacement
Welcome to the restoration journey of the electric heating element of your Masterbuilt smoker. Our tricks with this smoker troubleshooting guideline will work for all Masterbuilt electric smoker heating element replacements.
For your better understanding, we have broken the guides into a few parts. So let’s begin…
Step 1: Remove Heating Elements & Chip Box
Most of the time the corrosion leaves moisture in great numbers.

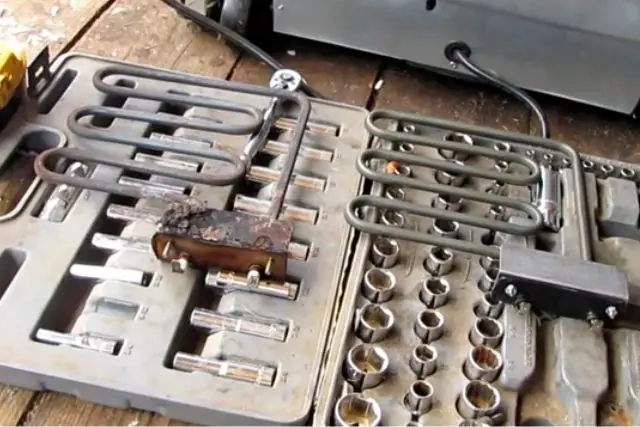
Turns out, the only option you have is to remove the following parts of the heating elements:
- Starter connectors
- The outside pan unit is fixed with bolts
- Access Panel
While removing the above parts, you will need the following tools:
- Screw-drivers
- Pliers
- Wire cutters and Strippers
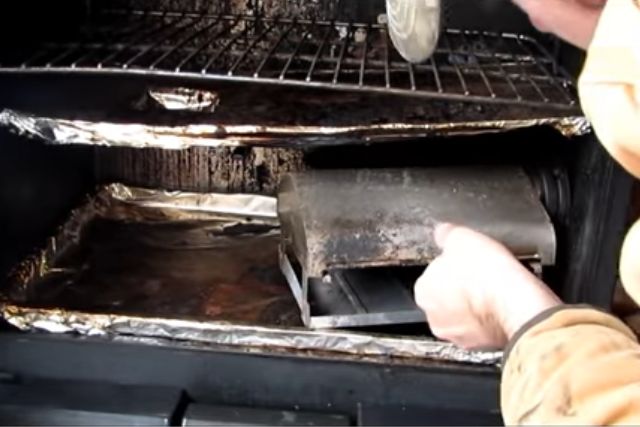
After heating element, you will need to remove the chip box as well, because it becomes messy. When you pull it out then you will get to see the trash and it smells like a rat inside of it.
By the way, to remove it follow the below instructions:
- First off, unscrew the attached chip box to the inner wall
- Then remove the bolts which tightly fixed to the box
- Pull out the chip box
Step 2: Cleaning and Restoring the Corroded Connection
As we have already said, moisture is the inhabitant inside the chip box and heating element. So you must get your hands on it.

Cleaning would be the easiest restoration, indeed. To perform so, use steel wool and a wire brush. Gently take them around and inside the heating element.
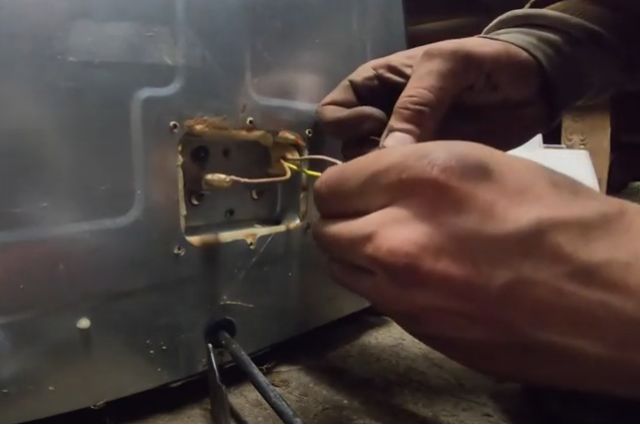
Once you are done, then let’s start restoring the bad connectors and turn them into a new condition. To do so, follow our instructions below:
- First off, a propane torch would be handy to boil down the solder connection
- Now, you may pull out the old connector
- Use a rotary tool alongside the sanding drum and clean them well.
Step 3: Replace All the Heating Element Connectors (Male & Female)
If you have already opened things up with your smoker and fixed heating element, then you must know about connectors.

First off, get your hands on the male connector and make sure that you are using 14 to 16 AWG connectors. Now sort out which male connectors are worn out. Then replace them with a new one.
By the way, the female connectors do the same. Commonly female connectors are more vulnerable to getting corroded.
Step 4: Re-Installation
Congrats! you have sweated a lot, we admire. The good news is you are almost done except you didn’t put the chip box, heating element, and pan together.

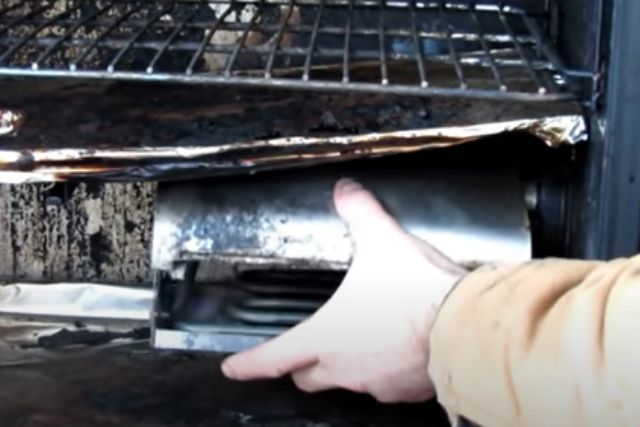
Well, that is so easy, you will need to follow the reverse technique that we said earlier. However, let us explain a bit.
- Reinstall the heating parts by screwing the nut and bolts
- Connect wiring (make sure you will switch off the power)
- Finally cover the panel and it’s about your electric smoker heating element replacement.
Well, you can also watch this video on how to replace your electric smoker heating element easily.
FAQ
How do you test an electric smoker element?
Why does my electric smoker not smoke?
Why is my electric smoker shocking?
How long do Masterbuilt smokers last?
Conclusion
Hopefully, you come to know the hacks for replacing electric smoker element kits. Throughout our 4 steps guideline, we have tried to share with you real-life-oriented troubleshooting.
However, if you fall into trouble sorting it out, feel free to let us know. We’ll be happy to help you with a solution.


My Master built smoker trips my GFI every time I plug it in! Do I need to replace the heating element? And is there a video show me how to do it?
Hey Steve
Here reading our guide on How to Fix Masterbuilt Electric Smoker Tripping GFCI will help you to fix your issue. And finally if you need to change your smoker heating element, read how to change smoker heating element.
I hope, you will get the solution.
Happy grilling