
Whether you are new or a pro, this guide on Masterbuilt smoker instructions will make you a master in using your Masterbuilt electric smoker. From this guide, you are going to learn:
- How to assemble and operate the control panel of the Masterbuilt smoker
- How to cook or smoke using this smoker
- Pro tips for a better-smoked result
- Masterbuilt smoker safety tips
- How to clean the smoker
So, let’s start…
Masterbuilt Smoker Instructions
Indeed, it’s a complete guide that breaks down everything you need to learn for using your smoker and smoking foods like a pro.
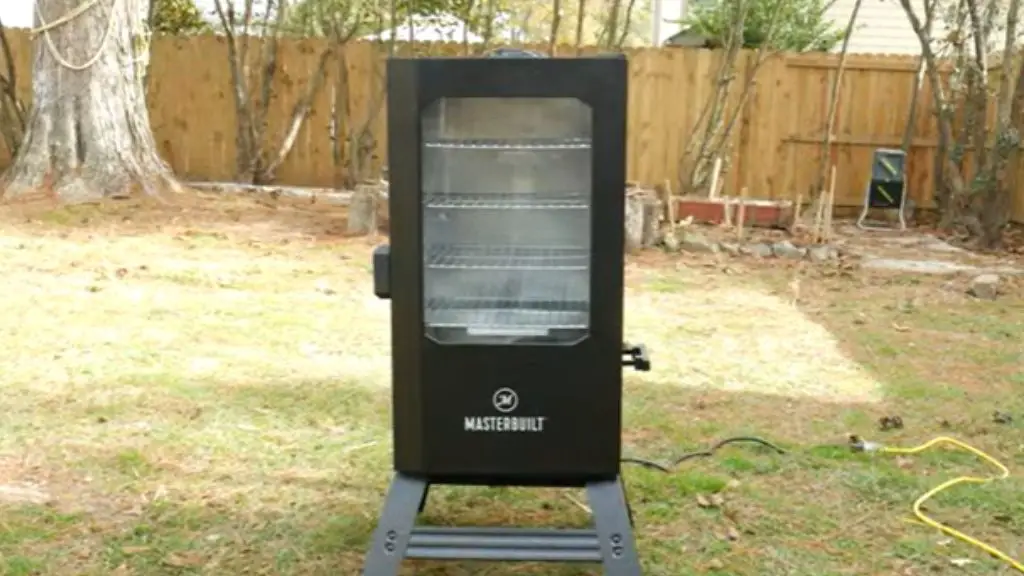
How To Assemble Your Masterbuilt Electric Smoker
Here is the step-by-step instruction to assemble your Masterbuilt Electric Smoker. But, before starting your job, you should have a head screwdriver.
Step 1: Firstly, you need to adjust the feet of the Masterbuilt Smoker. To do that, upright the unit and turn the feet clockwise/counter-clockwise to adjust and level up. After leveling up the feet, position the back leg securely by attaching the tension nuts.
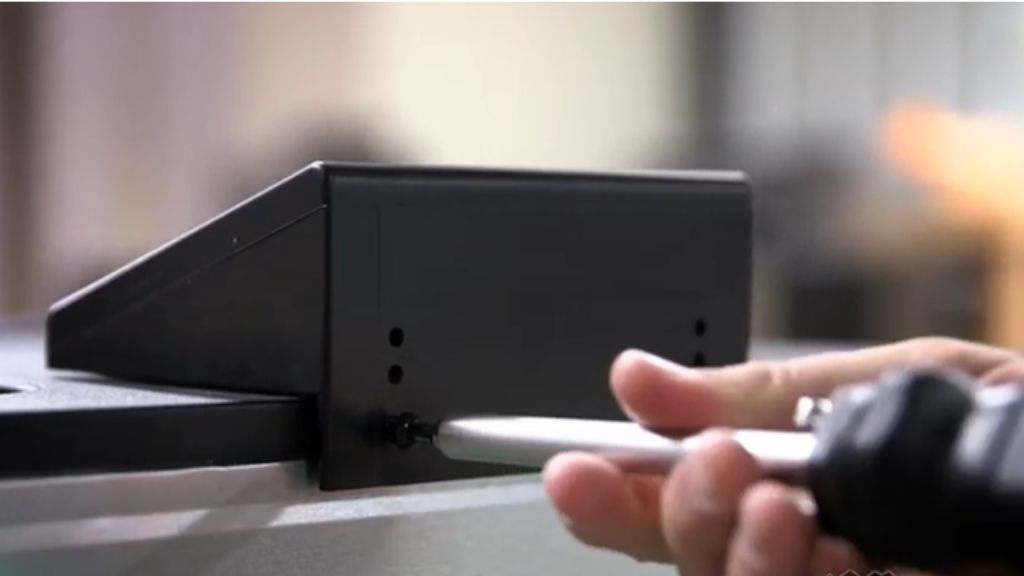
Step 2: Place the control panel at the top of your smoker. Then, align the slot from the control panel with a tab on the wire connector on the smoker and connect them.
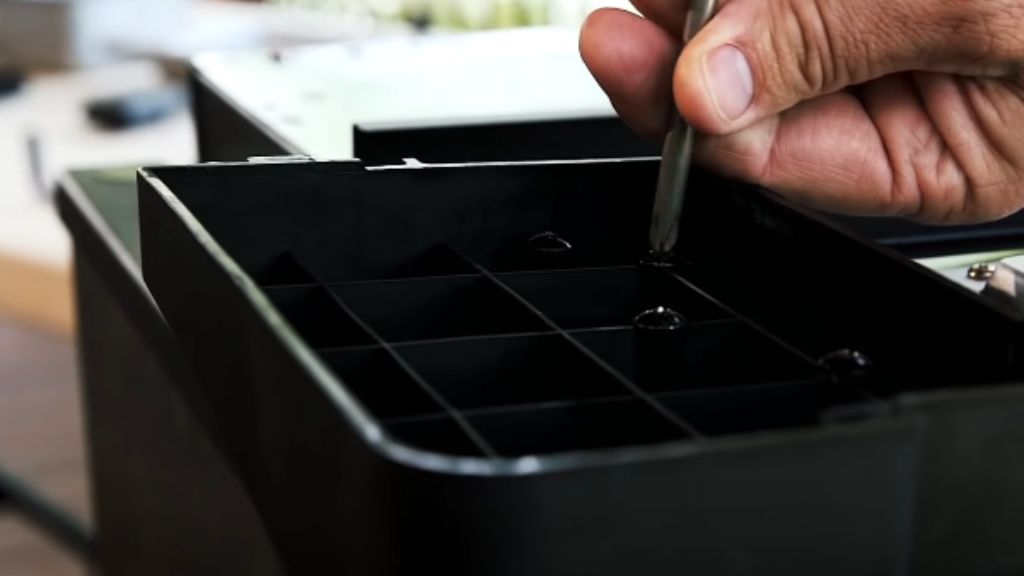
Step 3: Insert the stabilizing screw head into the keyhole to mount the control panel. Using the provided Panhead screws, secure the control panel to the smoker.
Step 4: Load your flavored wood pellets or wood chips in the chip box. Then put the wood chip tray in your smoker. Later, position the water bowl onto the lower bracket inside the smoker. Next, below your electric smoker heating element, keep the drip tray inside the smoker.

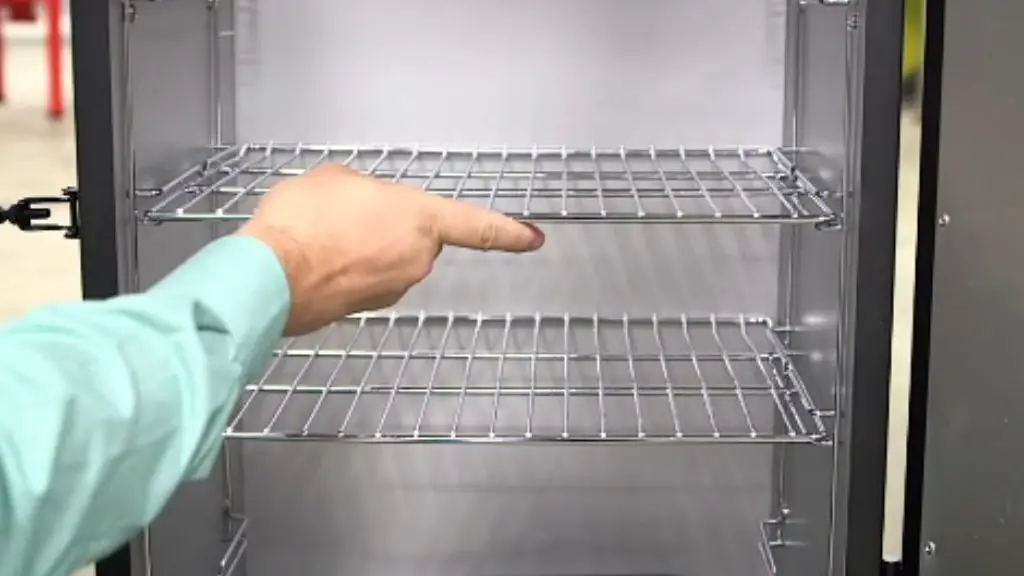
Step 5: Glide the cooking racks onto guides inside the smoker.
Step 6: Glide brackets on the back of the grease tray onto tabs until the grease tray stops.

Now, you are ready to use your Masterbuilt Smoker as you know how the smoker is working. But, remember, if you are using a Masterbuilt propane smoker, it’s wise to explore the propane smoker ultimate manual for a better cooking experience.
Control Panel Operating Guide
To operate the control panel, you don’t need to preheat the unit. Just follow the below instructions to know the Masterbuilt control panel operation:
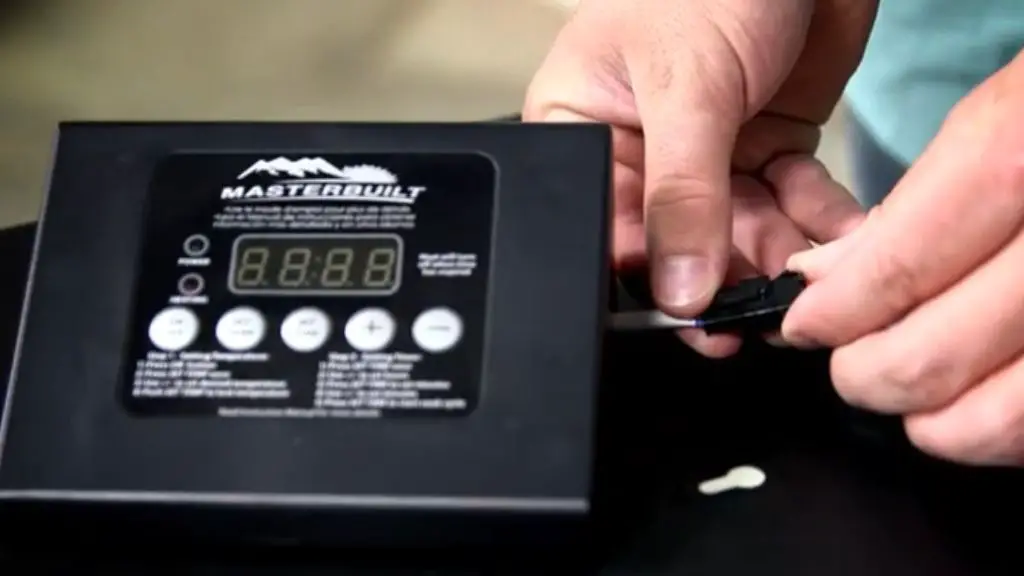
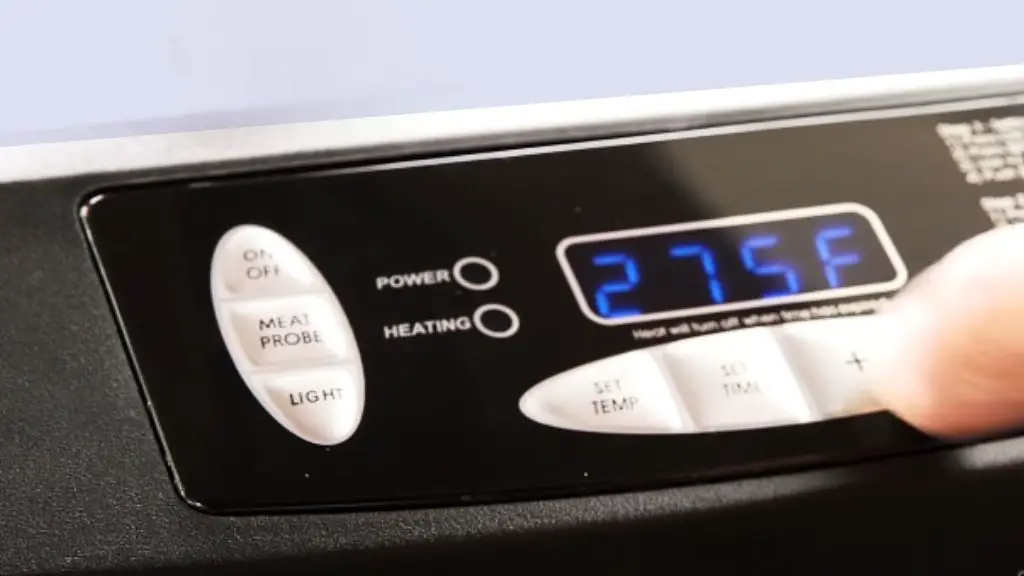
Set The Temperature
- Press the on button and then the Set TEMP button as you can see in the picture given below.
- Use the +/- option to adjust the temperature.
- To lock in the temperature, tap on the Set TEMP button again.
If you don’t follow the temperature setting steps, you may face trouble with temperature and finally find your Masterbuilt smoker not heating up.
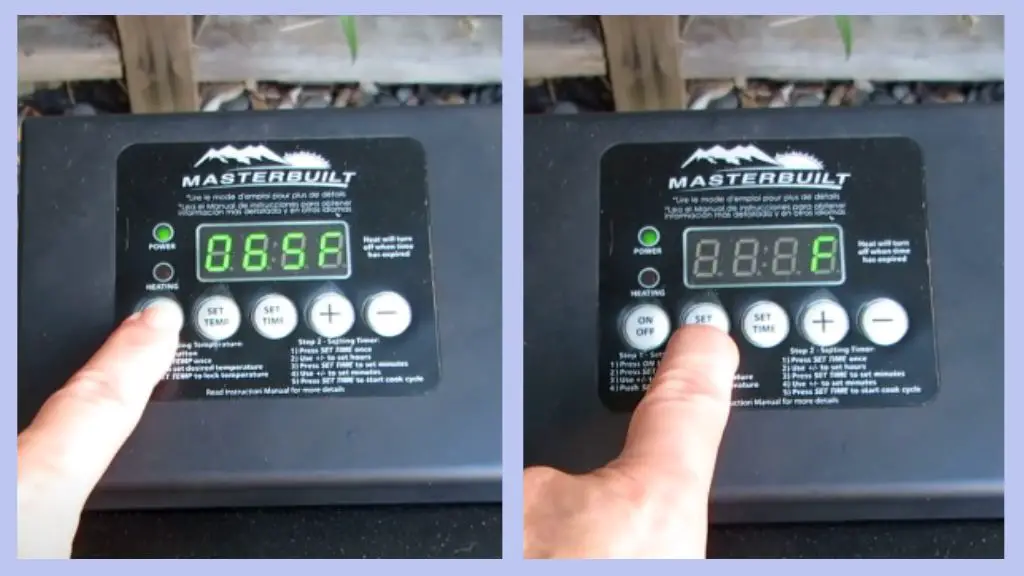
Set The Timer
Until you set the timer, the heating will not begin.

Here is how you can set the timer:
- Tap on the Set Time button and use the +/- button to adjust the hours
- To lock in hours, press the Set Time button again.
- Use the +/- button to set minutes and tap on the Set Time button to lock in minutes
Reset the Control Panel
If you see error messages in the control panel, firstly, turn the smoker off. Disconnect it from the outlet. Wait a few seconds.
And then plug in the unit and turn on the smoker, which reset the control panel. Following the procedure will certainly reduce your Masterbuilt electric smoker digital control problems.
Masterbuilt Smoker Cooking Instructions
Now, you know how to assemble the Masterbuilt Electric Smoker and the way of operating its control panel. So, what’s next? Cooking, right? Here we go…
1. Season Your Smoker First
Before starting your cooking, season your Masterbuilt smoker first. This small effort will reward you later by providing juicy and evenly smoked meat.

Here is how you rightly season your smoker:
- Ensure every smoker’s equipment is in place
- Plug the cord into the nearest outlet and turn the unit on
- Set your smoker at the highest temperature
- Run your electric smoker for two-three hours full of wood chips into its wood tray
2. Prepare Your Meat
What recipe you are going to cook determines the way of preparing your meat. Each of the recipes needs different ingredients to season and take time to marinate.

We recommend you make your meat ready according to your recipe.
3. Preheat Your Smoker
You must preheat the smoker before putting meat or food into it. Add wood chips to the wood tray and run the unit for 45 minutes to an hour. Never add foils on the rack as it prevents circulating the heat evenly.

4. Set The Cooking Temperature
The ideal temperature for smoking meat like pork but, fish is 225 degrees F. So, adjust your smoker temperature at this level to get the best cooking result.
But don’t mistake checking the internal temperature of the smoked meat using your meat probe to ensure better taste.
5. Add More Chips And Refill The Water Pan
If required, put more wood chips in the wood tray. Don’t overdose the tray with wood chunks. Otherwise, it affects the cooking result.

Then, refill the water pan according to the manufacturer’s guidelines. The steam water will help to soften the smoking meat and bring a juicy flavor during the smoking period.
6. Load the Meat
When you observe enough smoke is produced, you can load the smoker with meat on top of the smoker grill tray.

7. Put More Wood Chips During The Smoking Process
We recommend you put more wood chips to get the best-smoked result. However, never put more than half of the cup at once.

Observe how much smoke ring is producing. If it doesn’t produce enough smoke, you can add more wood chips to get a smoke ring in your electric smoker perfectly.
8. Remove the Meat from the Smoker
Generally, it takes 2-3 hours to complete the smoking process. So, look at the clock and remove the meat from your bbq grill at the right.
Now, your meat is ready to eat with your family and friends.
Here, you can also watch the video to learn more about how to use your Masterbuilt electric smoker.
Pro Tips For Better Smoked Result
The following tips will help you to use your smoker like a pro and enjoy super delicious foods:
- Always set the temperature of the smoker at the max level (275°F).
- You must keep the wood chip loader and wood chip holder in place when using the smoker.
- It is mandatory to use wood chips to produce smoke and bring the smoke flavor. Check the grease tray often and empty it when it gets full.
- Don’t open the smoker door until you need to open it. Otherwise, it may cause the wood to flare up as the heat may escape while you open it.
- Never leave the wood-burning trash in the wood tray. Clean the messes when the ash gets cold.
Masterbuilt Smoker Safety Tips
Maintain the following safety tips to avoid potential accidents.
- Never try to modify your electric smoker.
- Don’t move the smoker when you are using it. Move or store it when it gets cold after use.
- Always take precautions when removing something from the smoker as the interior part is hot and it may burn your skin. Wear safety gloves to avoid burning your skin.
- Don’t wrap the cooking racks with foil.
- Before unplugging the unit, turn the control panel off first.
- Don’t use it for other things than its intended purpose.
- While using your smoker indoors, don’t forget to ensure all the smoker indoor use precautions.
Masterbuilt Smoker Cleaning Instructions
Before cleaning, make sure you unplug the smoker and let it cool so that it doesn’t burn your skin.

Then, follow the cleaning tips to tidy up your electric smoker.
- Use mild detergent to tidy up the cooking racks, drip tray, and water bowl. Then, wash them away with clean water.
- Remove any build-up, residue, and dirt from the wood chip holder and wood chip loader.
- Use a damp mop to sweep the interior and exterior of the smoker. Never try out any cleaning agent.
- You must clean the door seal, inside seam & smoking chamber after every use of the smoker to keep it in good condition.
But knowing the step-by-step ultimate guide on cleaning a Masterbuilt smoker will make your cleaning task easy and simple. Also, it will help you to enhance your smoker’s cooking performance and strengthen its lifespan.
FAQ:
Do you soak wood chips for a Masterbuilt propane smoker?
Do you soak wood chips for a Masterbuilt digital electric smoker?
Pellet smoker vs. charcoal smoker-which one is better for smoking?
How often do you add wood chips to a Masterbuilt electric smoker?
Why is there no smoke coming out of my electric smoker?
Can you use aluminum foil in an electric smoker?
Can I use wood chips in my pellet grill?
How to preheat your Masterbuilt smoker?
Conclusion
We hope you find this guide on Masterbuilt Smoker Instructions helpful. Throughout this guide, we discussed everything related to Masterbuilt Smoker from assembly to how to cook in it.
We also elaborated on what safety precautions you should consider when using this smoker. Besides, you also learned how to clean it evenly but safely. Indeed, as a newbie, now you know everything about Masterbuilt Electric Smoker.
Still, have questions about this term? Then, leave a comment below to let us know.